
Have you ever marveled at the gorgeous, jewel-like appearance of rock candy? Those sparkling sugar crystals aren’t just a delicious treat—they’re also a fascinating science experiment you can create right in your kitchen! Whether you’re looking for a fun project to do with kids or want to make impressive homemade gifts, crystal candy combines the joy of DIY candy making with the wonder of watching science unfold before your eyes.
In this comprehensive guide, you’ll learn everything you need to know about making homemade rock candy, from understanding the science behind crystallization to troubleshooting common problems. I’ll walk you through each step of the process, share expert tips for growing the most impressive crystals, and offer creative variations to inspire your candy-making adventures.
Understanding the Science Behind Crystal Candy
Before we dive into the hands-on process of making crystal candy, let’s explore the fascinating science that makes it possible. Understanding these principles will help you create better results and appreciate the magic happening in your kitchen!
What Is Sugar Crystallization?
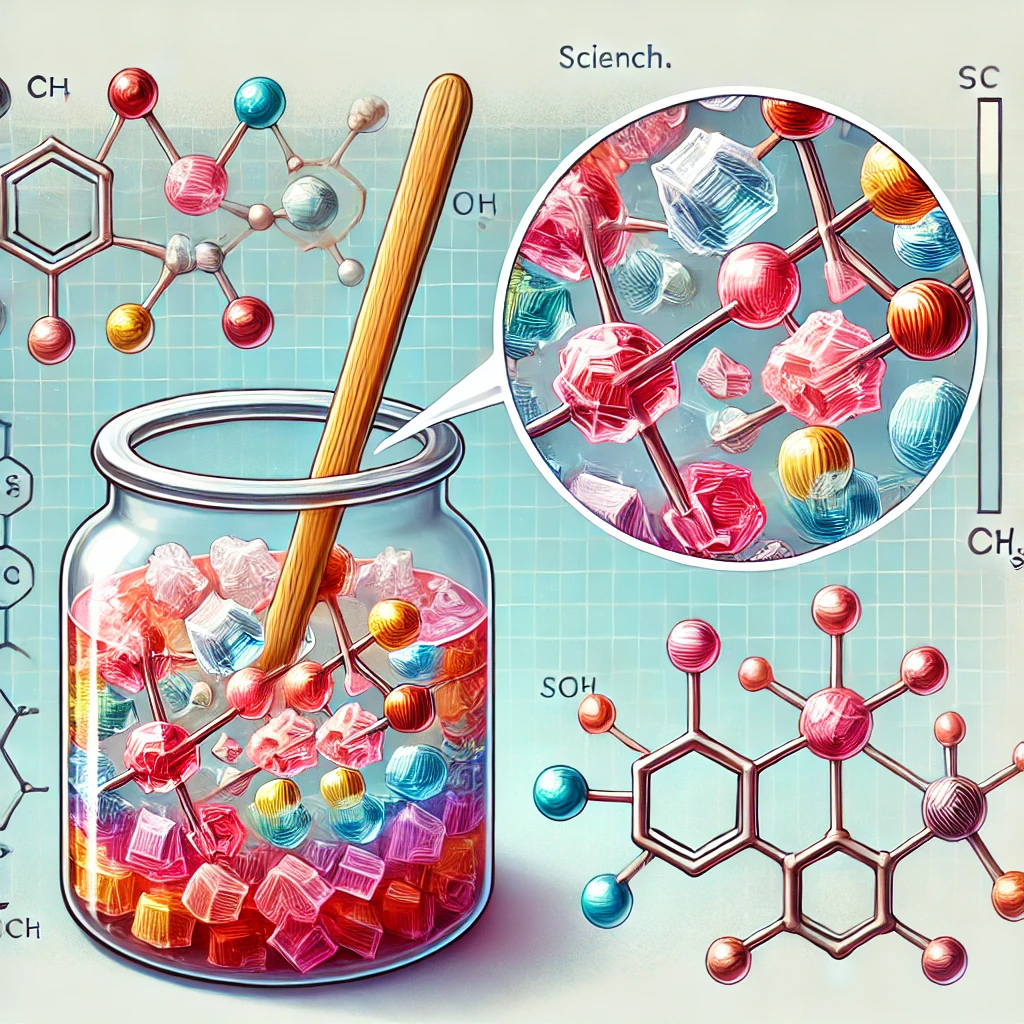
At its core, crystal candy forms through a process called crystallization, where dissolved sugar molecules arrange themselves into a solid, organized structure. When you dissolve sugar in water, the sugar molecules separate and float freely in the solution. As water evaporates or the solution cools, these molecules begin to reconnect, forming bonds in a precise, repeating pattern that creates the characteristic geometric shape of crystals.
The process starts with nucleation—the formation of tiny “seed” crystals that serve as building sites for additional sugar molecules. These seed crystals act like magnets, attracting more sugar molecules to attach in the same organized pattern, causing the crystal to grow larger over time.
The Role of Saturation and Supersaturation
For successful crystal candy, understanding saturation is crucial. A saturated solution contains as much dissolved sugar as the water can hold at a specific temperature. When you heat water, it can dissolve more sugar, creating a supersaturated solution—one that holds more sugar than would normally be possible at room temperature.
As this supersaturated solution cools, the excess sugar has nowhere to go except to crystallize onto any available surface. This is why we use strings, sticks, or seed crystals—they provide a perfect starting point for crystal growth.
Why Temperature and Cooling Time Matter
Temperature plays a vital role in crystal candy formation. When making homemade rock candy:
- Boiling the sugar solution ensures complete dissolution and sterilizes the mixture
- Reaching the “hard crack stage” (approximately 300°F/150°C) creates the proper concentration
- Slow, controlled cooling promotes larger, more defined crystal growth
The cooling time directly affects crystal size and clarity. Rapid cooling tends to produce many small crystals, while slower cooling allows larger, more distinct crystals to form—which is typically what we want for impressive rock candy.
Fun Science Experiment for Kids
Making crystal candy offers an excellent opportunity to teach children about:
- States of matter (solid sugar dissolving into liquid and reforming as solid crystals)
- Molecular structures and patterns in nature
- Patience and observation skills
- The scientific method through hypothesis testing (what happens if we change variables?)
Consider creating a crystal candy journal where kids can record observations, measure crystal growth over time, and compare results between different batches.
Ingredients and Tools You’ll Need
Creating beautiful homemade rock candy doesn’t require exotic ingredients or specialized equipment, but having the right supplies will ensure success.
Basic Ingredients
- Sugar: 2 cups of regular granulated sugar per cup of water (the main ingredient for crystal formation)
- Water: Clean, filtered water works best to avoid impurities
- Flavor extracts: Vanilla, peppermint, cinnamon, or fruit flavors (1-2 teaspoons per batch)
- Food coloring: Gel or liquid colors (4-8 drops depending on desired intensity)
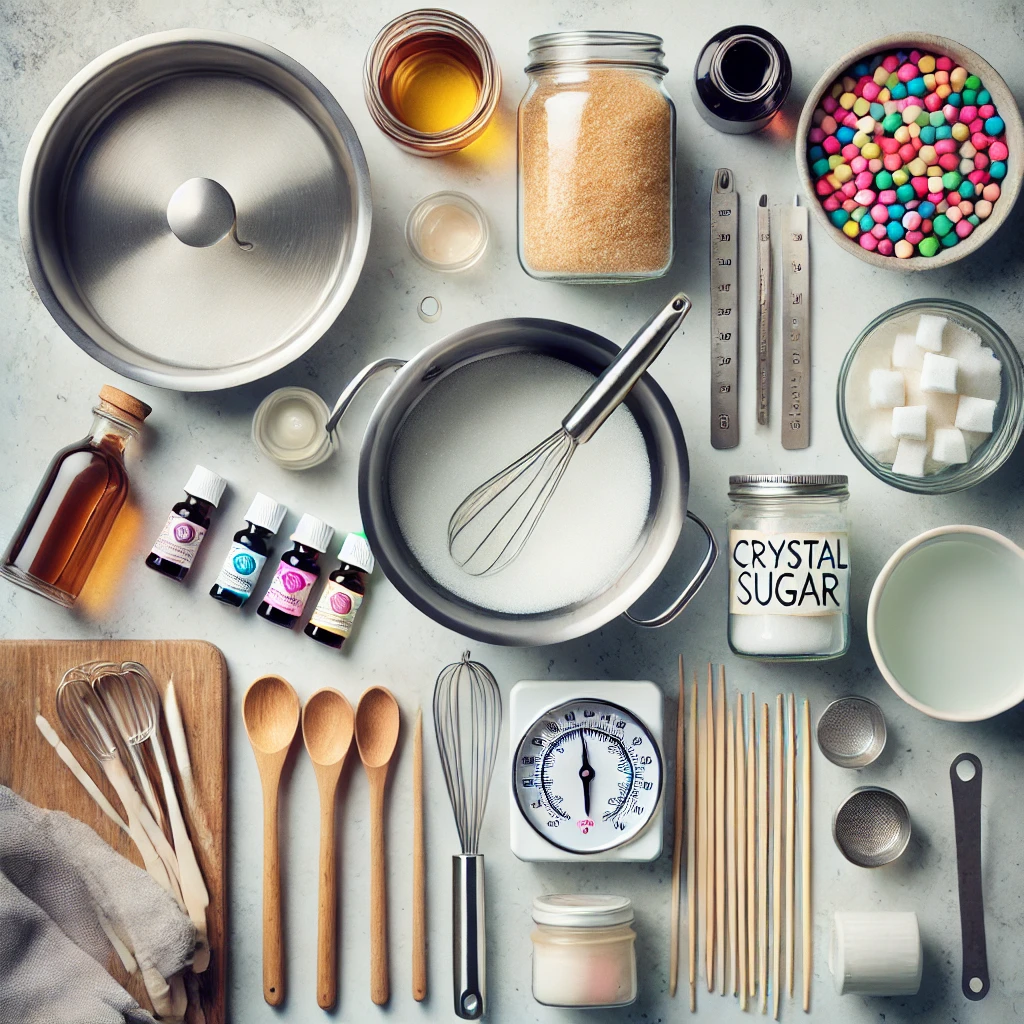
Essential Tools
| Tool | Purpose |
|---|---|
| Candy thermometer | Monitors sugar solution temperature precisely |
| Glass jars | Clear containers for crystal growth observation |
| Wooden skewers or cotton strings | Provides surface for crystal formation |
| Heavy-bottomed saucepan | Ensures even heating of sugar solution |
| Clothespins or pencils | Suspends skewers/strings in solution |
| Measuring cups | Ensures proper sugar-to-water ratio |
Optional Additions
Want to make your homemade rock candy extra special? Consider these creative enhancements:
- Edible glitter for sparkle (add after crystals have formed)
- Layered colors (carefully add new colored solution after initial crystals form)
- Natural flavoring alternatives like fruit juice or herbal extracts
- Spices like cinnamon or cardamom for unique flavor profiles
Choosing the Right Containers for Crystal Growth
The container you select can significantly impact your crystal candy results:
- Mason jars: Wide-mouth varieties allow easy crystal removal
- Tall drinking glasses: Create longer crystal sticks
- Plastic cups: Budget-friendly option (though less ideal for heat retention)
For best results, choose containers that:
- Are heat-resistant
- Have straight sides
- Allow for several inches of depth for crystal growth
- Can be covered lightly to prevent dust while allowing evaporation
Step-by-Step Crystal Candy Recipe
Now that you understand the science and have gathered your supplies, let’s make some stunning crystal candy! Follow these detailed steps for the best results.
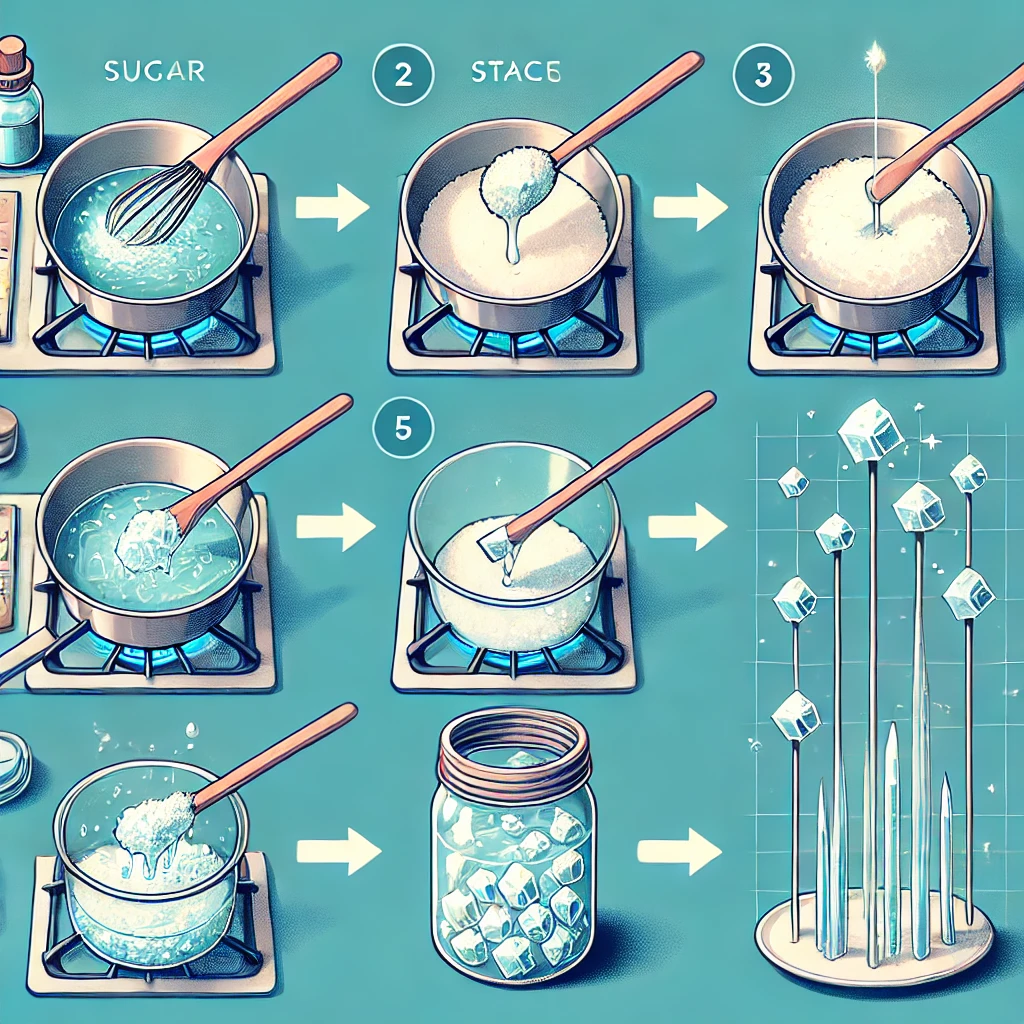
Preparing the Sugar Solution
- Sanitize all equipment by washing thoroughly and allowing to dry completely.
- Combine sugar and water in a 2:1 ratio (example: 2 cups sugar to 1 cup water) in your saucepan.
- Heat the mixture over medium heat, stirring constantly until the sugar completely dissolves.
- Bring to a boil and continue heating until the solution reaches approximately 230°F (110°C). This creates the supersaturated solution needed for crystal growth.
- Remove from heat and allow the solution to cool for 5-10 minutes. The mixture should still be quite hot but safe to pour.
Pro Tip: Avoid stirring the solution after the sugar has dissolved completely, as this can cause premature crystallization and result in smaller crystals.
Adding Color and Flavor
- Add food coloring gradually, starting with 4-5 drops and adjusting until you achieve your desired color intensity. Remember that the final crystals will appear lighter than the liquid.
- Incorporate flavor extracts after removing the solution from heat. Start with 1 teaspoon and adjust to taste, keeping in mind that flavors will concentrate slightly as crystals form.
- Stir gently to distribute color and flavor without introducing too many air bubbles or causing premature crystallization.
Setting Up for Crystallization
- Prepare your growing sticks by dipping clean wooden skewers or cotton strings into the hot sugar solution, then rolling them in dry granulated sugar. This creates “seed crystals” that encourage growth.
- Allow seed crystals to dry completely (about 20 minutes) before proceeding.
- Pour the cooled solution into your clean glass containers, leaving about an inch of space at the top.
- Suspend your prepared sticks in the solution using clothespins or pencils laid across the container opening. The stick should be positioned so it doesn’t touch the sides or bottom of the container.
- Place in a stable location away from direct sunlight, vibrations, or frequent temperature changes. A kitchen cabinet or pantry shelf works well.
Waiting and Watching the Magic Happen
- Cover containers loosely with paper towels or coffee filters to prevent dust from falling in while allowing some evaporation.
- Monitor crystal growth every 24 hours, but resist the urge to touch or move the containers frequently.
- Expect initial crystals to appear within 24-48 hours, with significant growth visible within 3-7 days.
- Allow crystallization to continue for 7-14 days for optimal results. Longer growing periods (up to several weeks) will produce larger crystals.
- Remove crystals when they’ve reached your desired size by gently lifting the skewer/string and allowing excess syrup to drip back into the container.
- Place finished crystals on wax paper to dry completely before enjoying or storing.
Common Mistakes and How to Fix Them
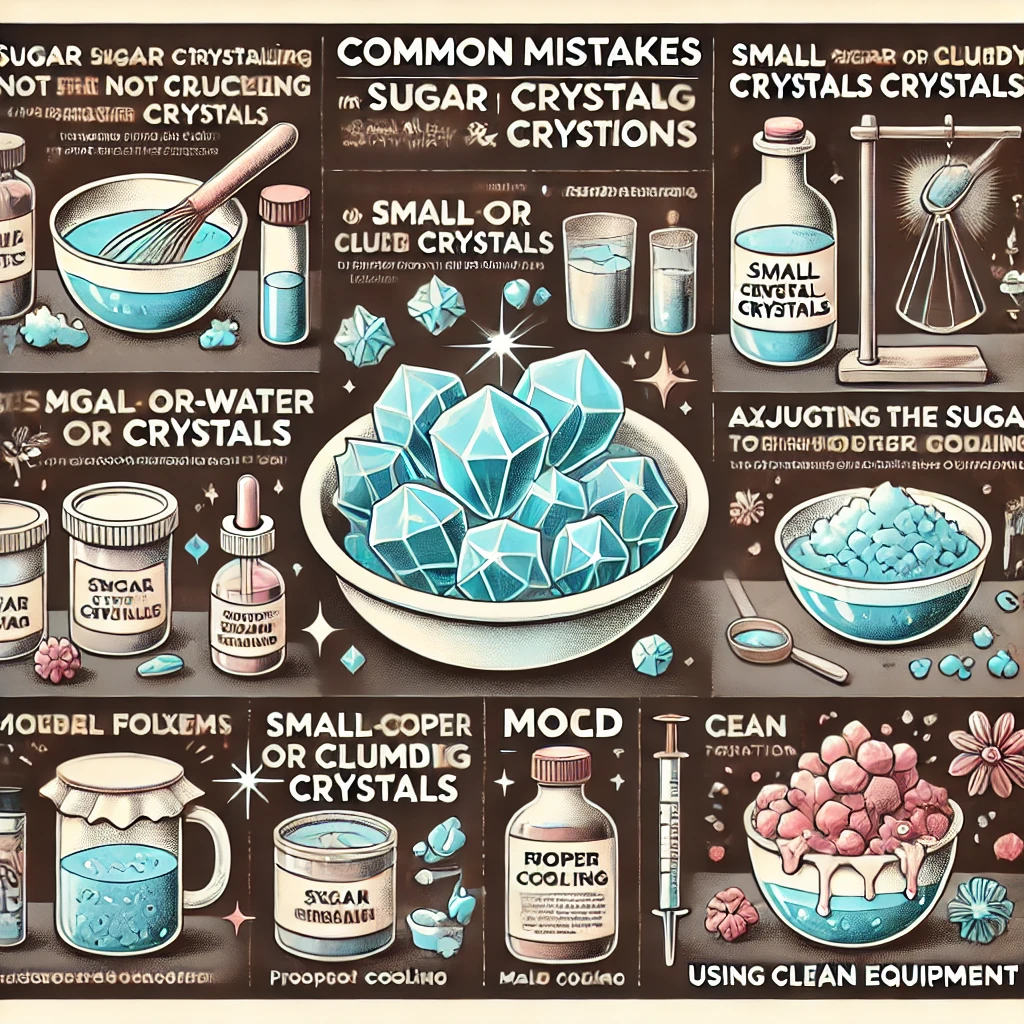
Even experienced candy makers encounter challenges when growing crystal candy. Here’s how to troubleshoot common issues:
Why Are My Crystals Not Forming?
If your solution isn’t producing crystals after 3-4 days, consider these possible causes:
- Undersaturated solution: Your sugar-to-water ratio may be off. Create a new, more concentrated solution.
- Contamination: Even tiny particles can disrupt crystallization. Ensure all equipment is thoroughly clean.
- Temperature fluctuations: Move your containers to a location with more stable temperature.
- Insufficient seed crystals: Try adding more seed crystals to your growing stick or string.
Quick fix: If no crystals have formed after 4 days, you can reheat the solution, add more sugar (about ¼ cup per cup of solution), and start again.
My Crystals Are Too Small or Clumpy
Small or clustered crystals typically result from:
- Rapid cooling: The solution cooled too quickly, causing many small crystals to form simultaneously.
- Over-agitation: Excessive movement during the growth period disrupted crystal formation.
- Improper seeding: Uneven seed crystal distribution on your growing medium.
Solutions:
- Use a deeper container for slower evaporation
- Ensure the growing environment maintains a stable temperature
- Create a more uniform seed crystal layer on your growing sticks
Preventing Mold or Impurities in the Candy
Nothing ruins homemade rock candy faster than unwanted growths! Prevent contamination by:
- Adding a drop of lemon juice to your solution (the acidity helps prevent mold)
- Using sterilized equipment and containers
- Keeping containers covered during crystallization
- Avoiding wooden stir sticks (which can introduce impurities) in favor of metal or silicone
How to Speed Up or Slow Down Crystal Growth
To accelerate growth:
- Increase the sugar-to-water ratio (3:1 instead of 2:1)
- Use slightly warmer growing locations
- Use wider, shallower containers for faster evaporation
To slow growth for larger crystals:
- Use deeper containers
- Lower the ambient temperature slightly
- Increase humidity around growing containers
Storing and Enjoying Your Homemade Crystal Candy
Now that you’ve successfully created your beautiful homemade rock candy, let’s talk about preserving and enjoying your sweet science project!
Proper Storage to Prevent Stickiness
Crystal candy can absorb moisture from the air, becoming sticky over time. To maintain optimal quality:
- Allow crystals to dry completely before storing (12-24 hours)
- Store in airtight containers with a small silica gel packet
- Keep away from humid environments
- Wrap individual sticks in waxed paper or cellophane if giving as gifts
Creative Ways to Use Crystal Candy
Your homemade rock candy isn’t just for eating straight off the stick! Consider these creative applications:
- Festive drink stirrers for parties (color-coordinated to your theme)
- Cake decorations for spectacular birthday or wedding cakes
- Homemade gift packages with different flavors and colors
- Science fair projects demonstrating crystallization principles
- Holiday-themed treats (red and green for Christmas, pastels for Easter)
How Long Does Homemade Rock Candy Last?
Properly stored homemade rock candy can last for:
- 6-8 weeks at room temperature in airtight containers
- 3-4 months if individually wrapped and kept in cool, dry conditions
- Indefinitely if you’re displaying it as a decoration (though it won’t remain food-safe)
Signs your candy has reached the end of its shelf life include:
- Significant stickiness or “weeping”
- Changes in color or transparency
- Off flavors or odors
Fun Variations to Try Next Time
Once you’ve mastered basic homemade rock candy, experiment with these exciting variations:
- Layered colors: Add new colored solution every few days for rainbow effects
- Shaped containers: Use differently shaped heat-safe containers to influence crystal patterns
- Flavor combinations: Create unique pairings like strawberry-basil or orange-cardamom
- Spiked versions: Add a touch of complementary liqueur for adult treats (bourbon-vanilla or amaretto work well)
- Natural colorants: Experiment with fruit juice, tea, or vegetable-based colors
Conclusion
Creating stunning crystal candy at home is both a delicious adventure and a fascinating glimpse into the wonders of chemistry. The process requires some patience, but the reward—watching magnificent sugar crystals grow before your eyes—is well worth the wait. Whether you’re making homemade rock candy as a science project with kids, crafting unique gifts, or simply satisfying your sweet tooth, this DIY candy making project delivers both education and delicious results.
I encourage you to experiment with different flavors, colors, and growing techniques to discover your personal crystal candy style. Remember that each batch is a new opportunity to refine your technique and create even more impressive results!
Have you tried making homemade rock candy before? What colors and flavors worked best for you? Share your experiences or questions in the comments below—I’d love to hear about your crystal candy adventures!